I don’t do well with straight lines. Cutting a strip of paper? Uneven. Backing up for my drivers’ test? Almost failed that one. Hanging pictures evenly? Nope.
But we recently moved, and one of my favorite parts is hanging up pictures on the walls. I love seeing all the smiling faces of my friends and family, plus putting up the artwork I’ve collected over the years. It’s definitely an eclectic mix, but I’ve found a method that works for me: staggered gallery walls.
Gallery walls because I have a lot of pictures, so putting them in smaller groupings works well.
Staggered because straight lines are hard.
Here’s how a staggered gallery wall works.
Choose one or two anchor pieces. These are usually the largest pieces in your grouping, and you’ll build everything else off of them. You can choose to do one large centered piece with smaller items floating around it, or two larger pieces on the ends with smaller pieces in between.
Lay your grouping out on the floor first. This method is pretty much freehand without measuring, but you still need to have a bit of a plan going in. Plus, this helps you figure out the order for how you want things to go so you don’t have to put too many nail holes in the wall.
In the past I’ve used this brown paper trick for making sure I get things exactly where I want them, but it takes a really long time and you really don’t need to. If you’re hesitating or you’re new at this, go ahead and do it. But if you wing it, it will still turn out fine.
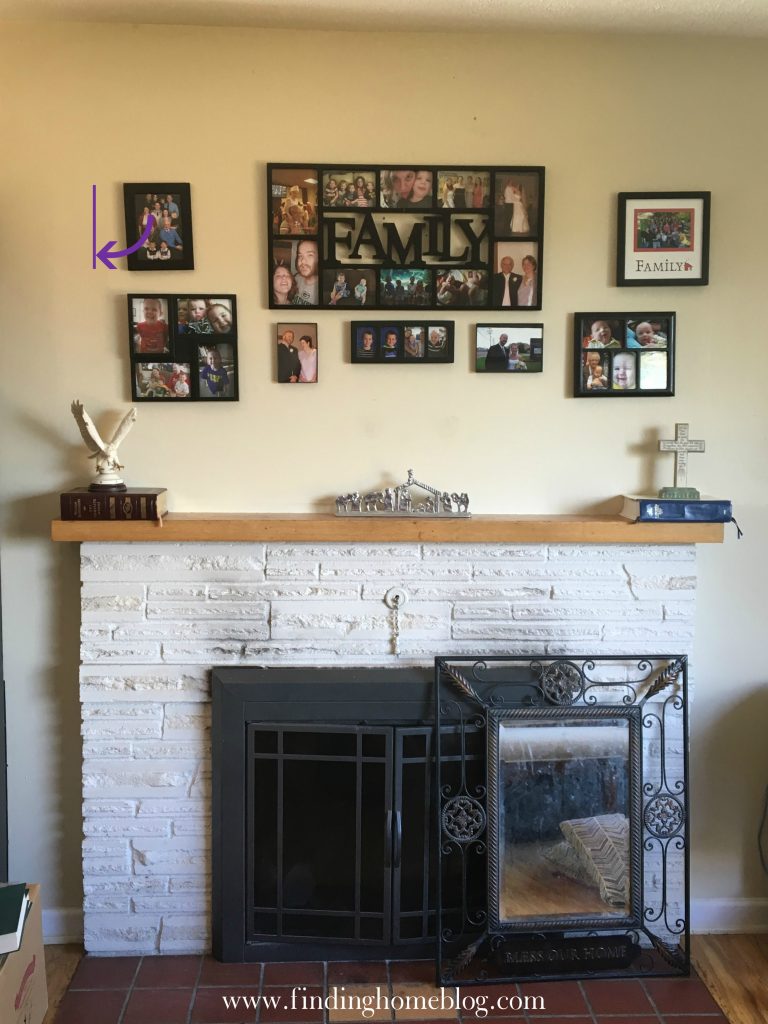
Hang one of your anchor pieces. This is really the only one you need to make sure is straight and exactly where you want it to be. For this arrangement over our fireplace, the anchor piece was the big FAMILY frame, and I needed to make sure it was level and centered.
Hang the rest of the pieces, making sure they’re NOT even with the anchor piece. This is where the staggering comes in. If you’re trying to make everything perfectly even, lining up the top of every single picture in a straight line, you’ll probably fail (unless you’re way better at this than I am). In the fireplace picture, I noticed something was off. It was the top left photo, and I’ve since moved it over to about where the purple line is.
If you’re not trying to make it even, it will work.
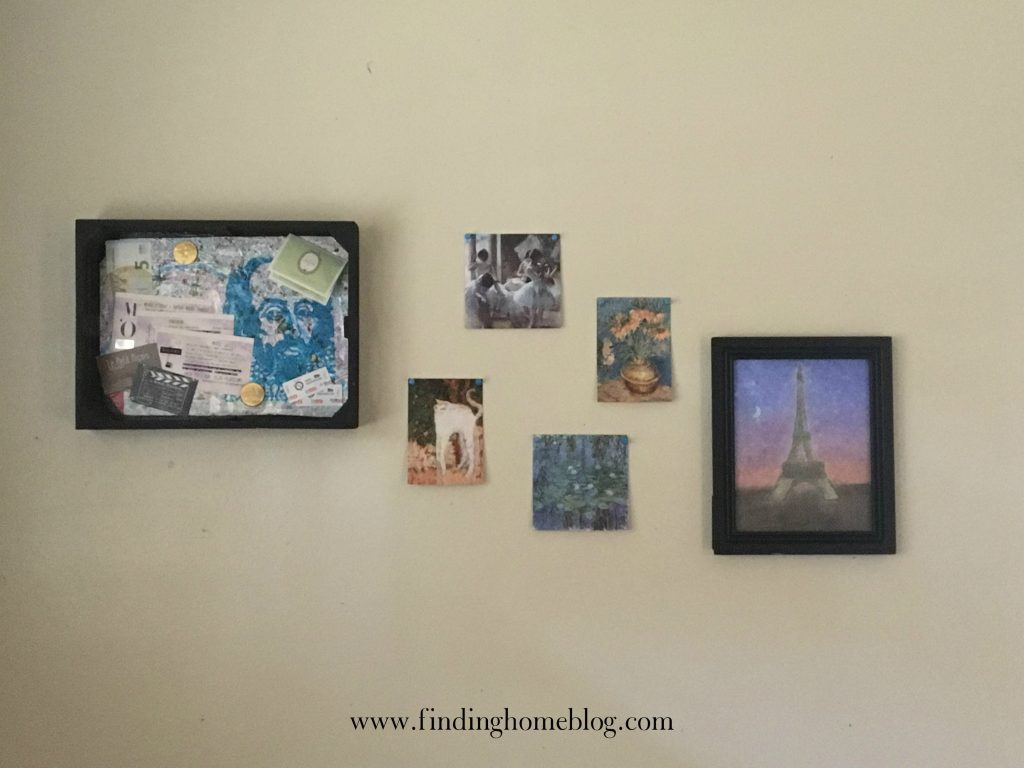
If you’re doing the two-anchor method, you may want to hang your second anchor right away, especially if you’re trying to center the overall grouping (but you don’t have to – I’ve also worked from left to right with a general ending point in mind). Otherwise, go from largest to smallest. The smaller items are way more forgiving and easier to move than the large ones.
Make sure that your pictures are vertically straight, and make sure that the top edge doesn’t line up with the top edge of anything else.
Bonus tips:
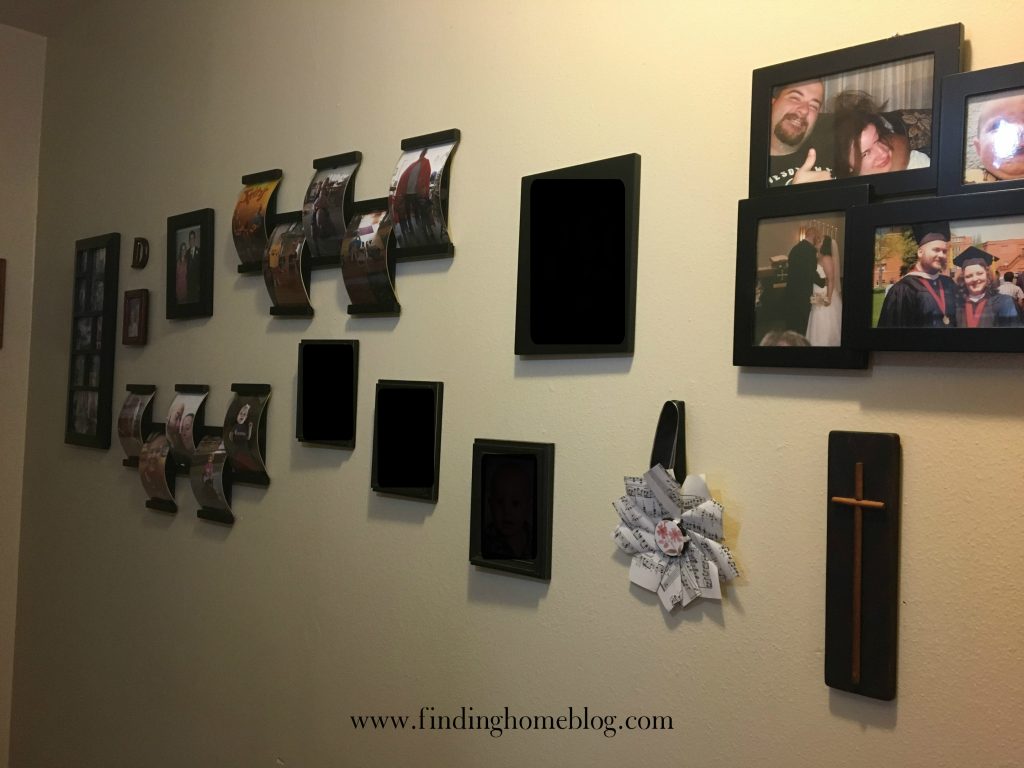
Use a variety of items. Photos, prints, paintings, handmade objects, letters, and pretty much whatever you think of can be part of your grouping. A lot of mine are made up of mostly photos with some fun smaller objects thrown in. One of my favorites is this travel grouping in our living room:
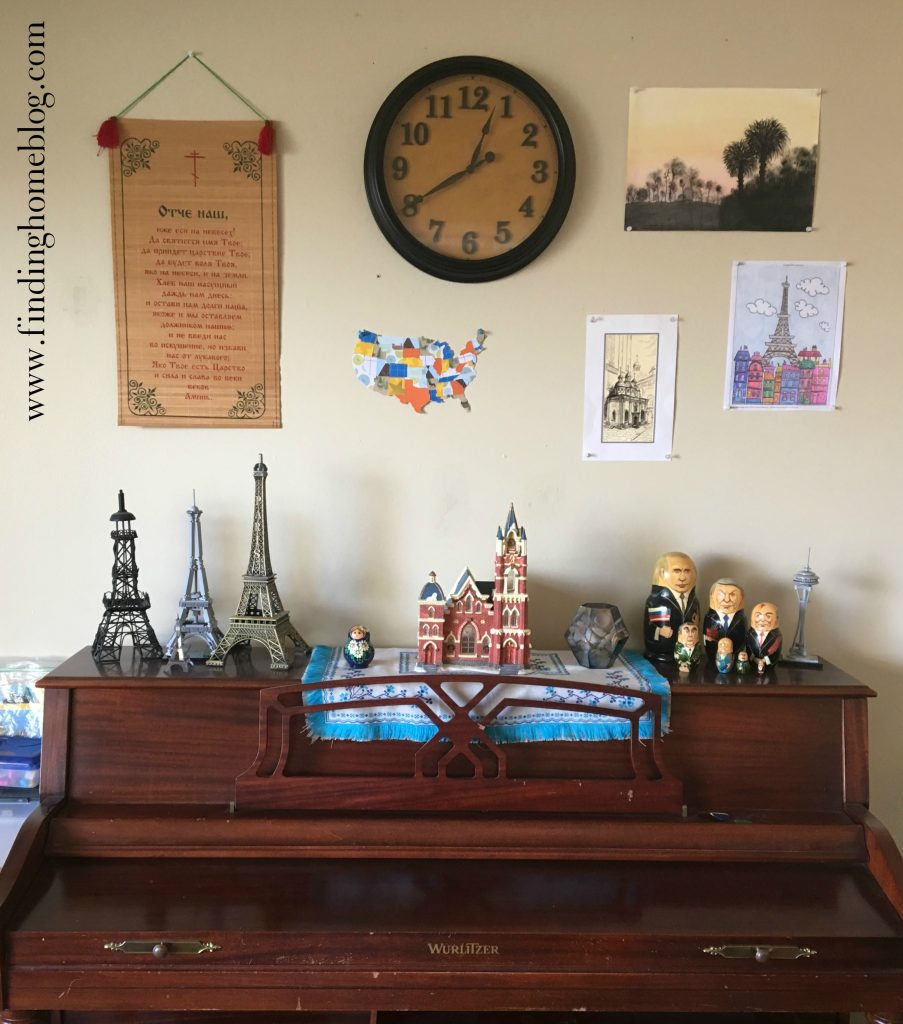
You’ve got a clock, a coloring page, a craft project, a souvenir print of a church, and The Lord’s Prayer in Ukranian from my trip many years ago. They’re tied together by being travel-related (except the clock), but they’re all unique.
Use all the same color of frames. Even if you have a bunch of shapes and sizes and types of artwork (photos, prints, crafty objects), having them all tied together by the frame color really brings the whole thing together. I prefer black frames, and it’s a really easy option to give people if they ask what I want for Christmas.
Use at least 3 items. You can use many, many more than that, but start with at least 3.
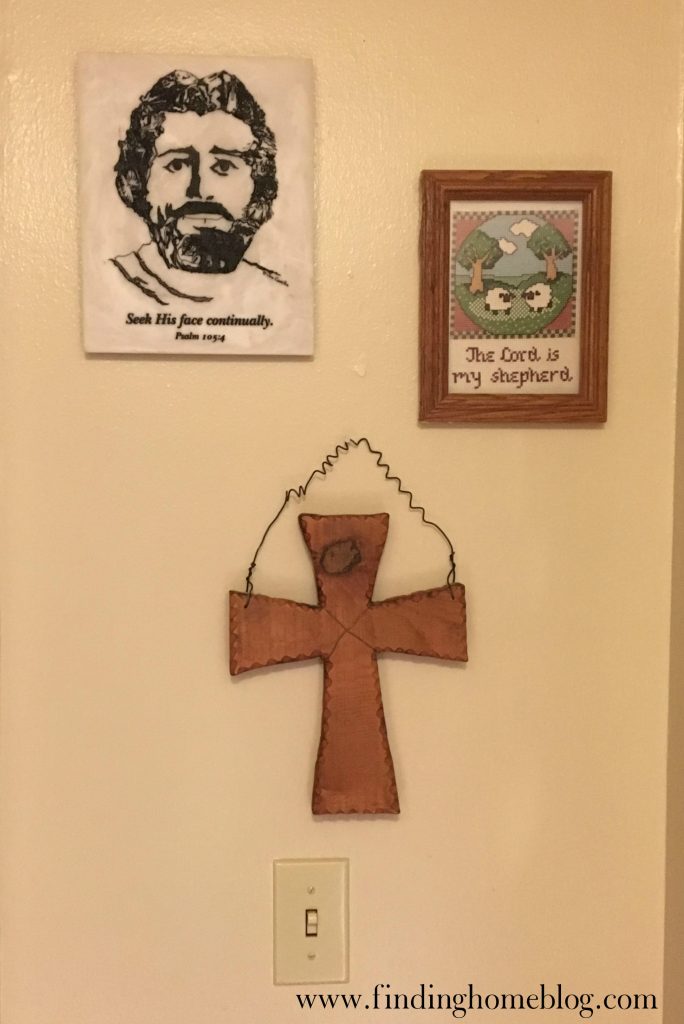
Do you have straight line problems? Which wall in your house are you going to try this method on first?

Leave a Reply