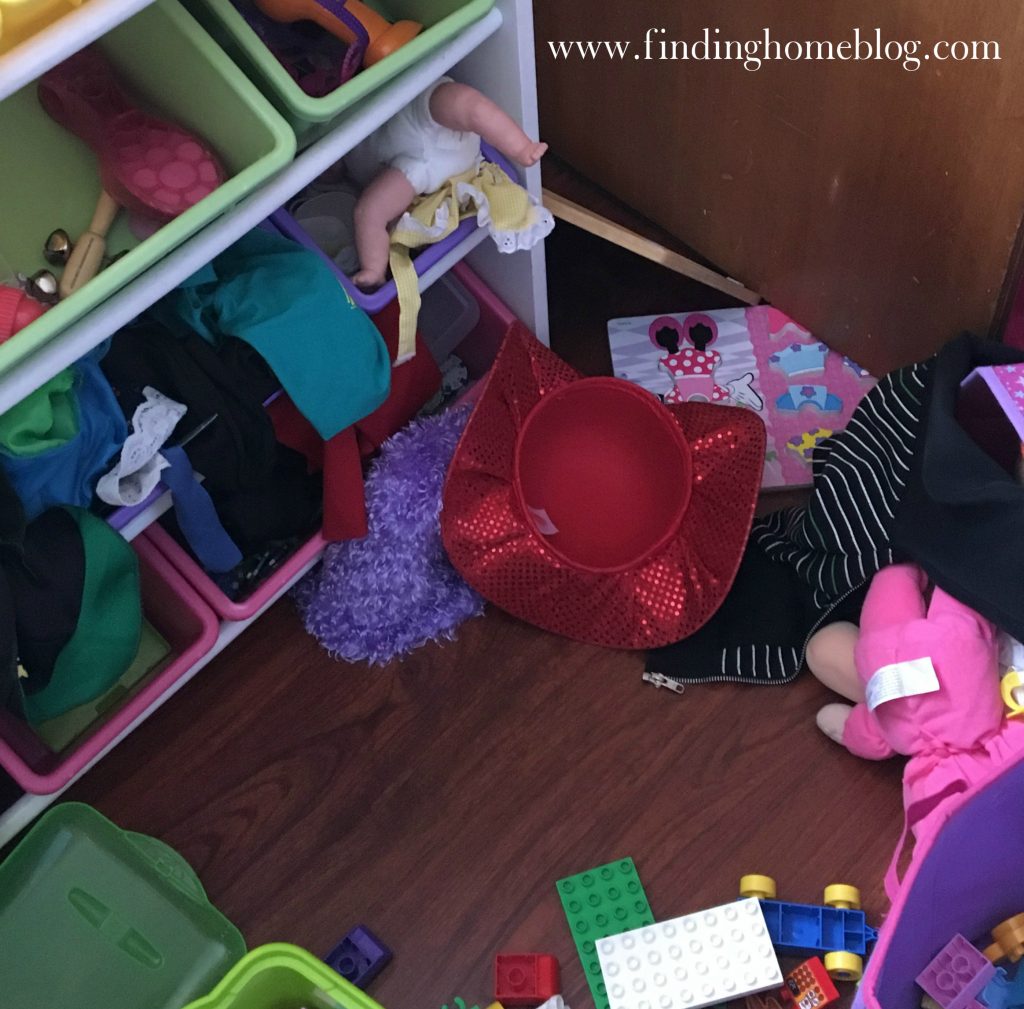
I have a love/hate relationship with a lot of my childrens’ toys. I love that play doh helps them with motor skills and get them to be super creative, but it gets all over the table and floors. Legos are really awesome for building whatever they can come up with, but I’m constantly finding little pieces all over the house. And dress up clothes? Lots of fun to see them pretend, but they constantly ended up dumped out in a big pile on the floor so that someone could find one item.
I may not have a solution for messy play doh or finding Legos just yet, but we have a new system for organizing dress up clothes.
It took a few tries for me to get to this. For awhile we just had a few dress up items, and those stayed in one of our toy bins. But as our collection has grown, the dress up clothes have outgrown their space. And while sometimes it’s a good thing to set a limit based on space, sometimes it’s a good idea to change the storage solution. This obviously wasn’t working.
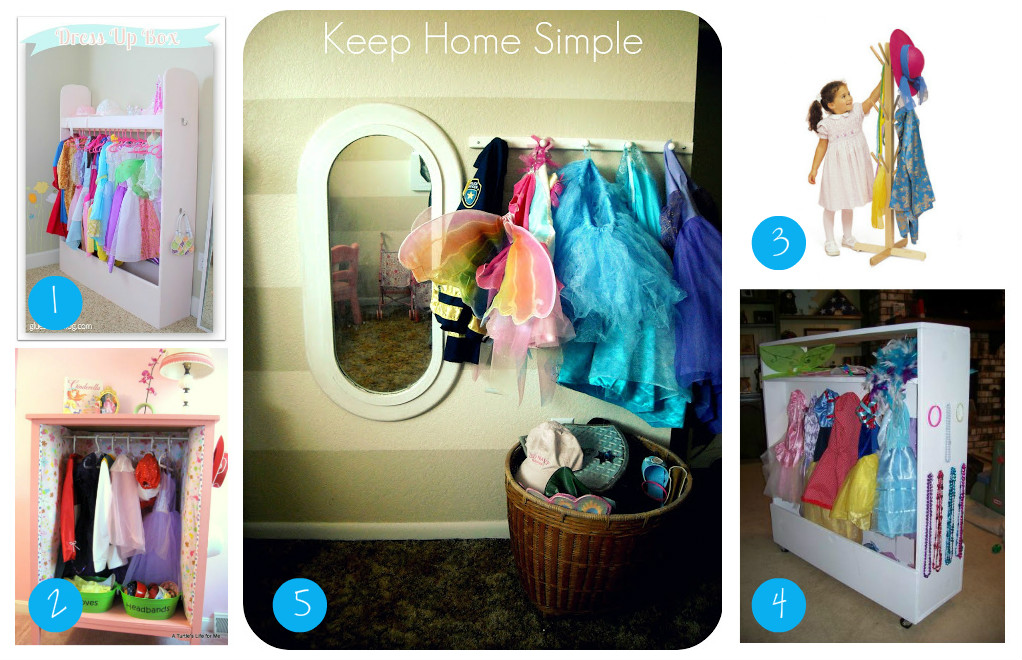
So I went to Pinterest. There are plenty of options out there for cute dress up clothes set ups. None were the perfect fit, but I could still take some inspiration from these setups.
After scrolling for awhile and saving some ideas, I started to think about what we had around the house. What space did we have? Did we have any storage options I could devote to this project? I was willing to spend a little bit of money for a helpful solution, but if I could use things I already had, that would be ideal.
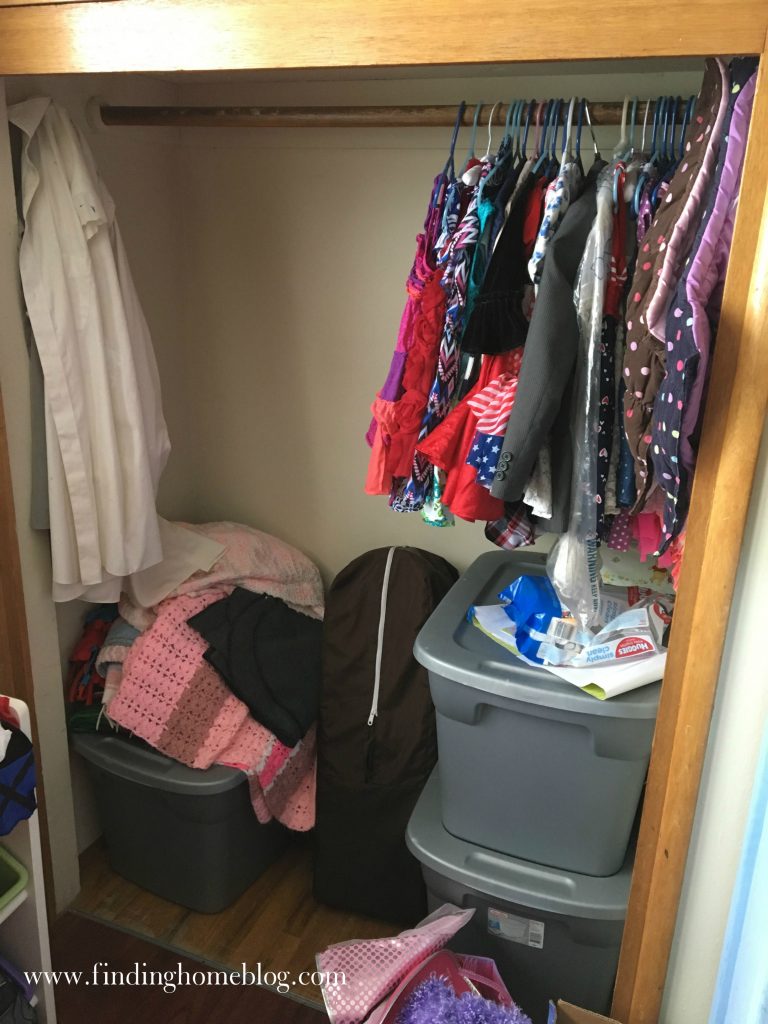
Initially I thought of using 3M Command Hooks, because I love those, but I couldn’t think of a spot for them.
I really liked how this one (#1 above) and this one (#2 above) looked, because they gave the dress up stuff its own separate place, but hangers. There’s no way my kids are going to hang the clothes back up on hangers when they’re done. No way.
I like the space saving idea of a coat rack, but this one (#3 above) was over $100. Yikes. And these are actually really hard to find at a thrift store. I’ve tried before.
A rolling cart like this one (#4 above) is cute, but I’d have to go buy a cart, and I didn’t really have a good spot to put it anyway.
And then I saw this simple setup (#5 above). A set of hooks and a bin. Then I thought of a very similar set of hooks that had been in our back hallway, which wasn’t currently being used. And then I started destroying the kids’ room.
Okay, not really. But I did take their closet doors off, and there was a drill involved, so I got some raised eyebrows from the little people in the family.
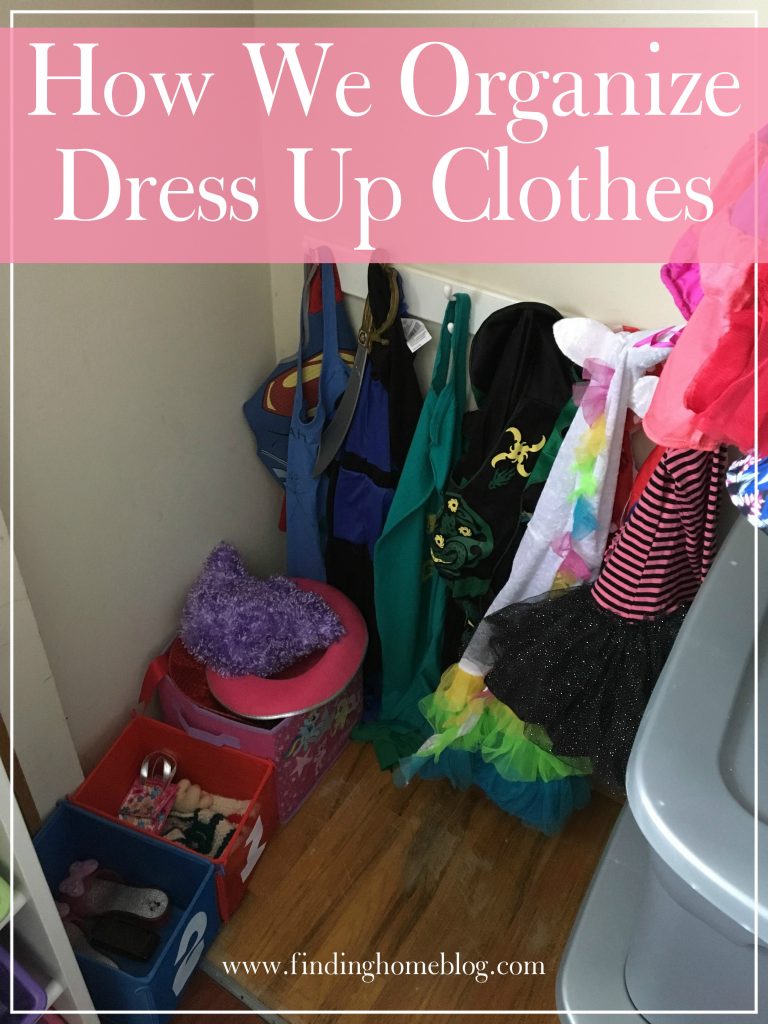
So now we have this. All of the extra clothing items are hanging on hooks. There are a few doubled up, which I don’t love, but I like that using what we had meant this project was free. And I can always add a few Command hooks off to the side if I need to.
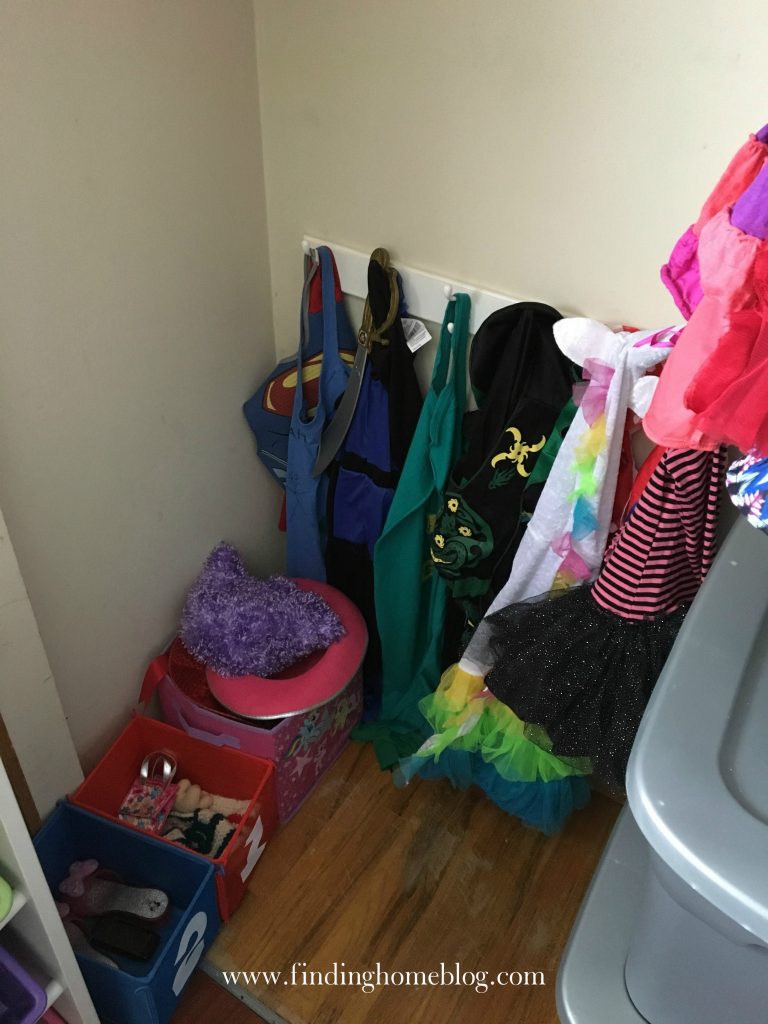
And then we have a few bins: hats and headgear in the purple bin, purses/phones in #1, and shoes/jewelry in #2. And for the bins, I’m kind of okay with things just ending up in one of them. As long as they’re put away. If I ever get to printing and laminating photos for the rest of our toy storage bins, I’ll do these as well, but there’s enough room now that even if everything ends up in the wrong one, the kids should still be able to find things without dumping the whole thing out on the floor.
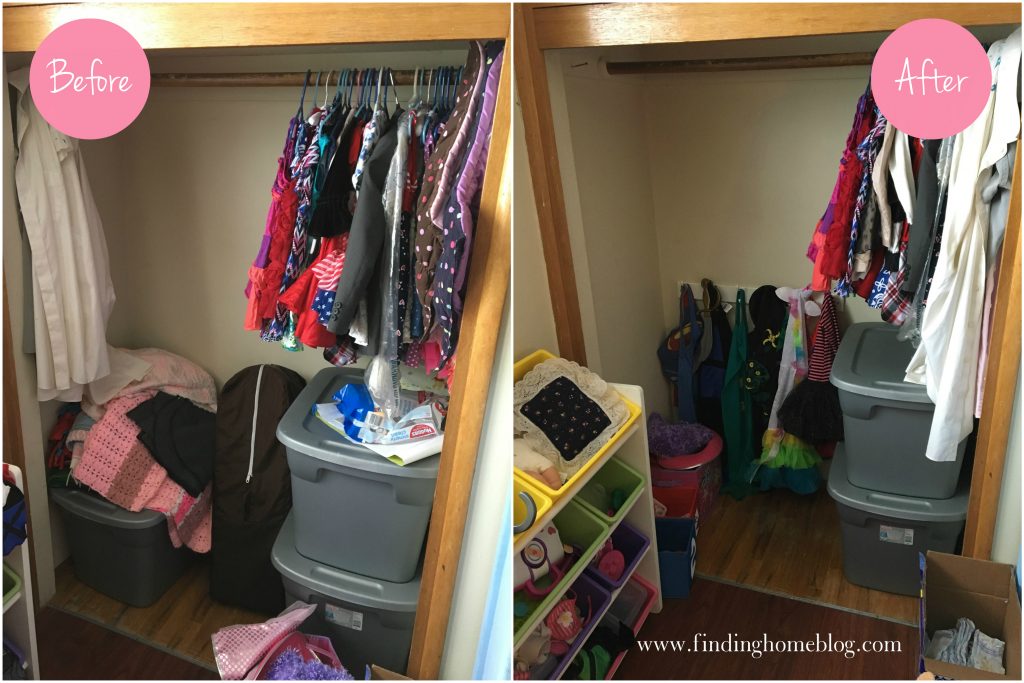
And that was the point of this whole thing.
Disclosure: Some of the links in this post are affiliate links. If you make a purchase through these links, I receive a bit of a commission at no additional charge to you. Thank you for your support!
Leave a Reply