If you’ve ever had a garden, you know that you don’t completely control when your produce is ready to pick. Sometimes, that means you only get a handful of spinach or berries at a time. And sometimes, that means you get several baskets full of snap peas, all at once.
When you have that extra garden produce, hopefully you add that into your meal plan for the week. But if you still have extras, one great way to preserve them for later is to blanch your veggies.
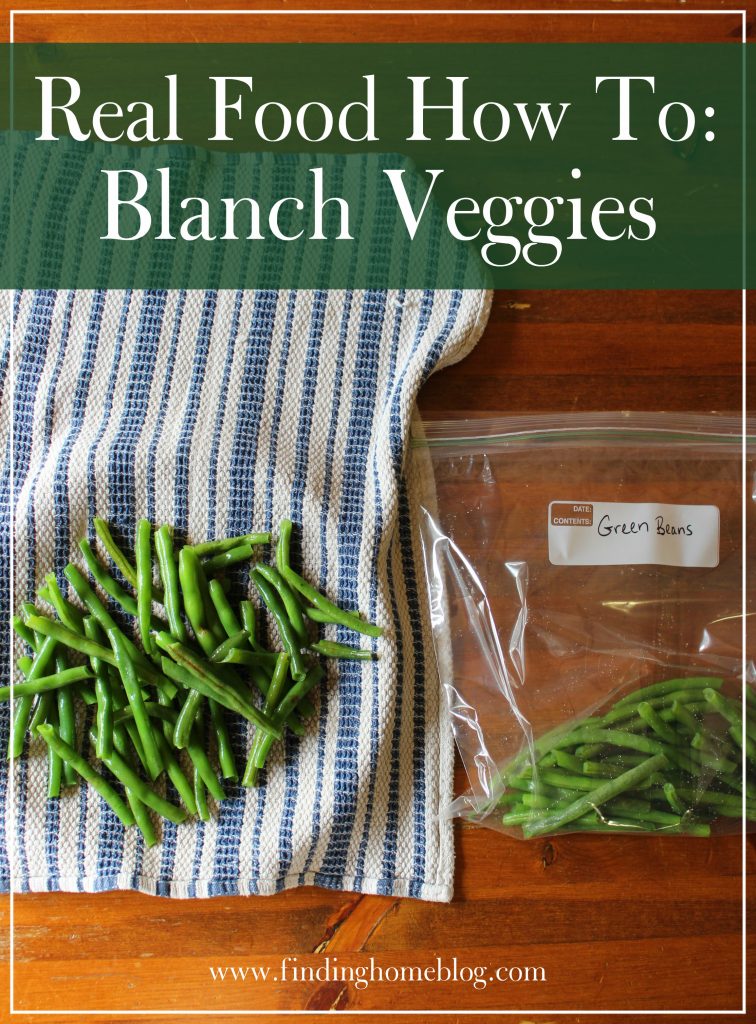
Blanching is a process used to partially cook produce. You boil the produce for 1-2 minutes, then submerge it in ice water to stop the cooking process. Both parts are important: you need to boil to kill any bacteria on the plant, but you also need to stop the cooking before it’s finished so that when you use the veggies later on, they won’t be overcooked.
Blanching is pretty simple.
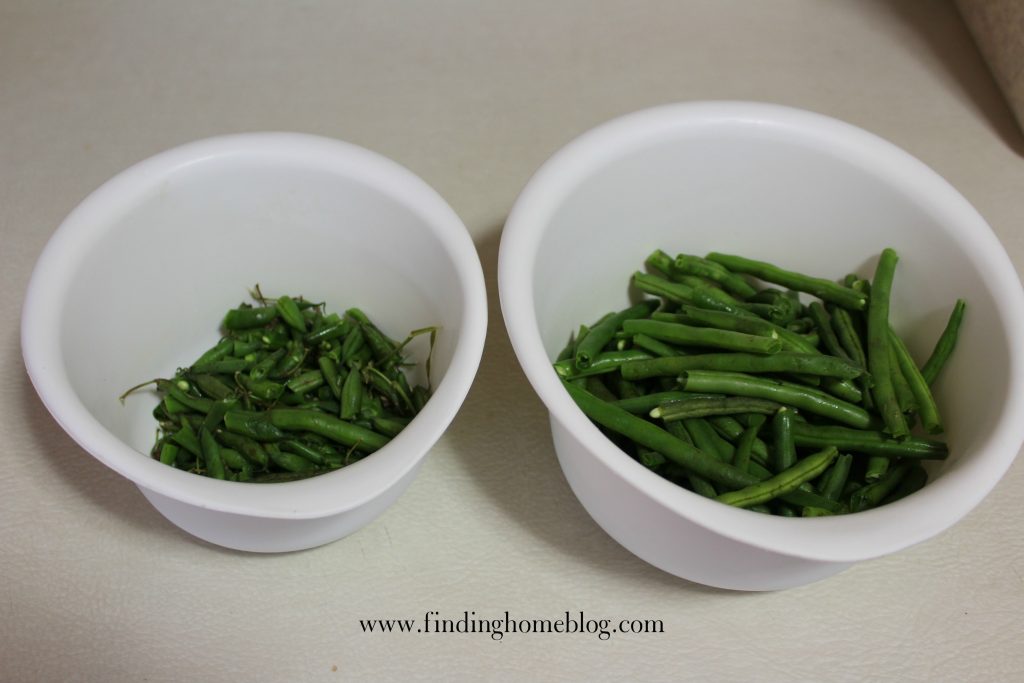
First, prepare your produce. Chop your vegetables or fruits into the size you’ll want them for whatever you’re making. For my green beans, I snapped the ends off and chopped each bean into a few shorter pieces. (I like to have my kids help with this step, so I just give them a bowl for the ends)
Second, get set up. Get your water boiling. Fill a separate bowl with ice water, and get out a slotted spoon, a plate lined with a dish towel, and a timer.
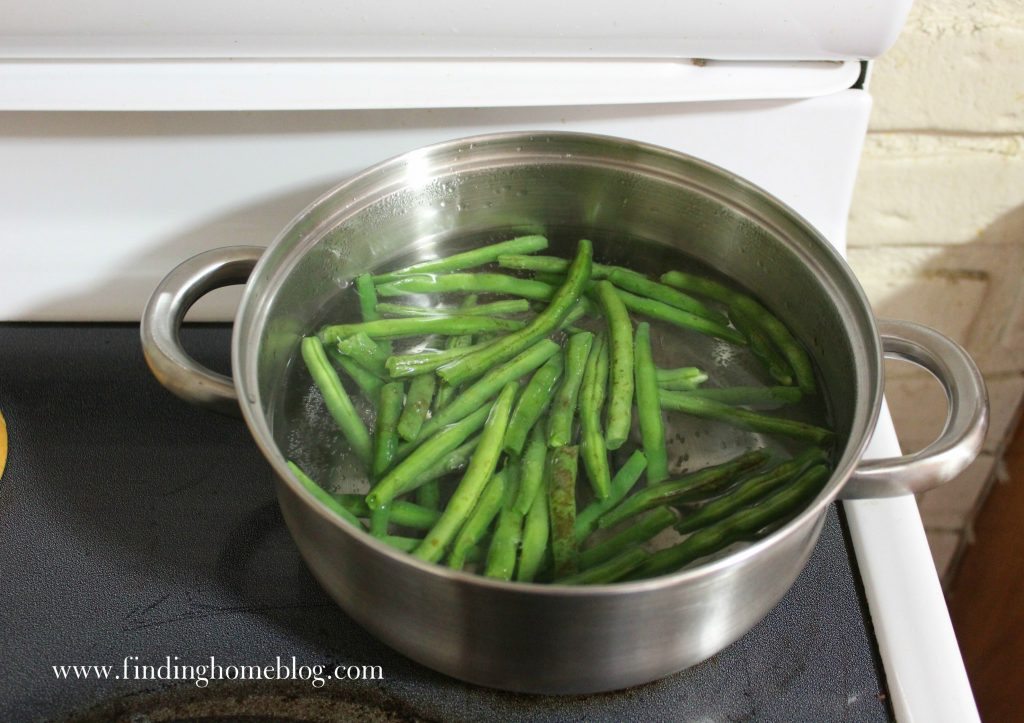
Once the water is boiling, start the blanching process. Drop a few handfuls of your produce into the boiling water, and set the timer for 1-2 minutes. Heartier produce can stand a couple minutes; more fragile leafy greens may only need 30 seconds.
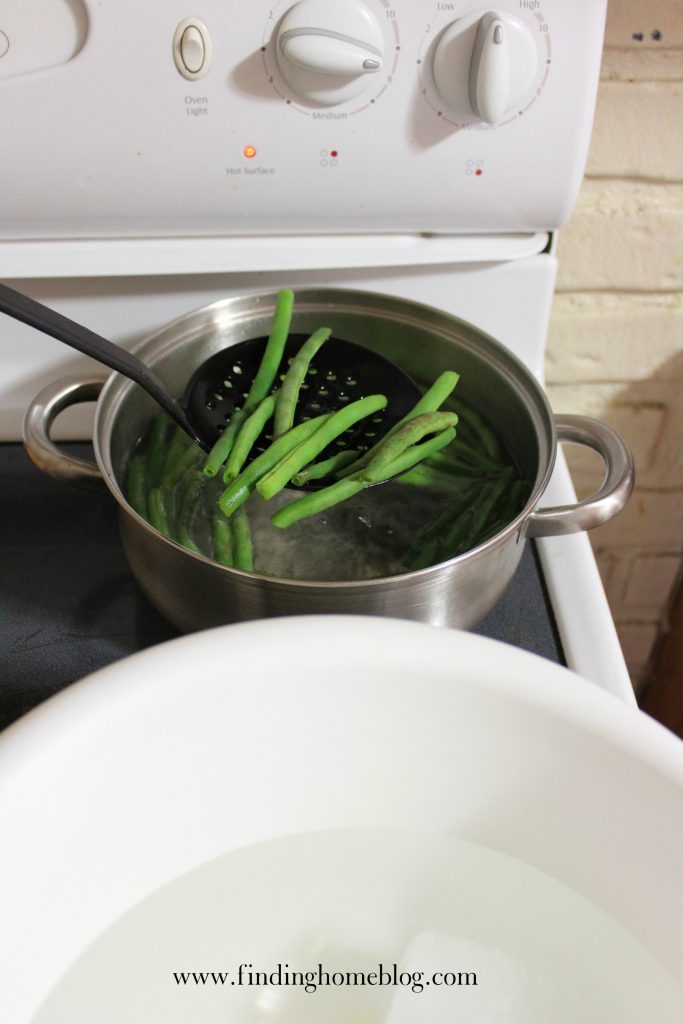
Remove with a slotted spoon and submerge the produce in ice water until it cools, then remove to the plate with the dish towel and pat dry. Once dry, put in a freezer ziploc or container and freeze.
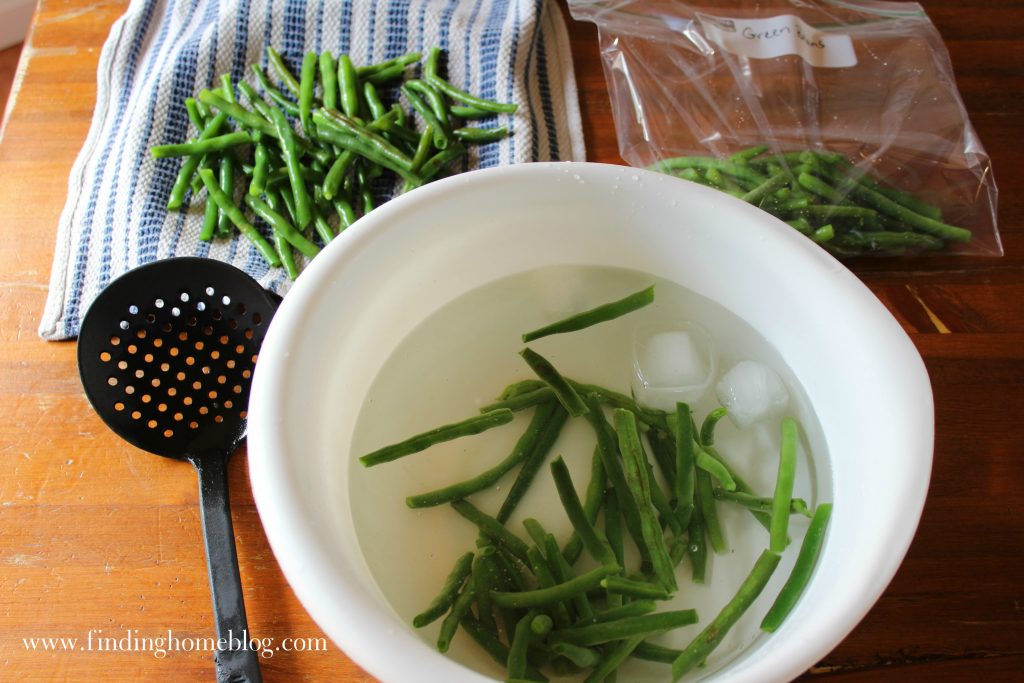
I usually keep the vegetables in the ice water until the next batch is ready to come out of the boiling water, so it becomes a sort of cycle: move the batch from the ice water to the towel, move the batch from the boiling water to the ice water, put a new batch in the boiling water, pat the batch on the plate dry and put it in a freezer bag or container, repeat. Doing it this way actually makes the whole thing go pretty quickly!
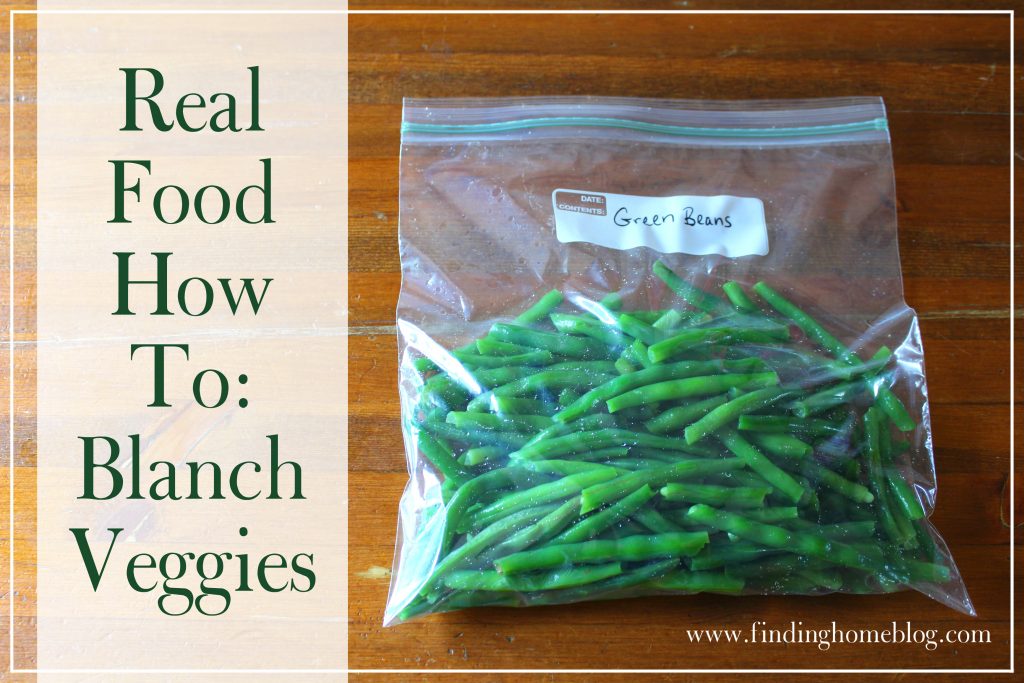
What can you blanch? Many vegetables:
- snap peas
- green beans
- broccoli
- cauliflower
- carrots
- corn
- spinach or kale (although they’ll only be useful for adding to dishes where they would be cooked, not for eating in a salad, obviously)
- onions
- cabbage
- asparagus
- bell peppers
You can also use this process to peel the skins off of tomatoes, especially in the first part of the canning process (or if you just don’t want the skins in whatever you’re making). And you can blanch fruits as well.
One of my favorite vegetables to blanch is green beans, and they’ll be in season soon! They’re also delicious in this Garlic Chicken with Green Beans.
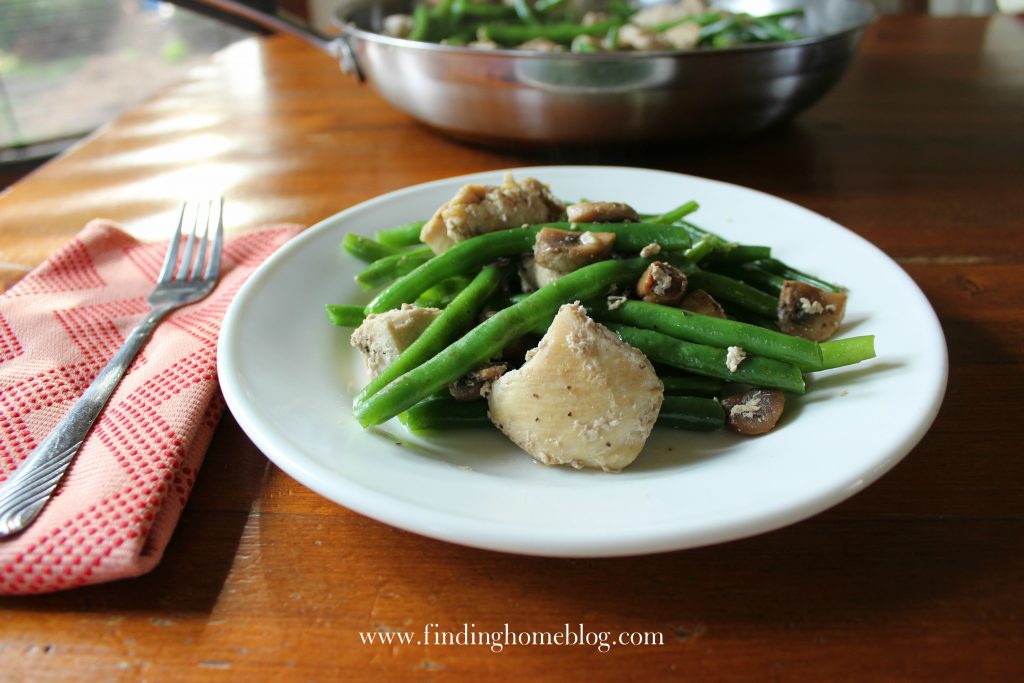
Garlic Chicken with Green Beans
Serves 4-6
Ingredients:
- 5-10 garlic cloves, minced*
- 2 Tbsp. bacon fat or olive oil
- 8 oz. mushrooms, chopped
- 20 oz. chicken breast, cut into small pieces
- 4 cups green beans
- salt and pepper
Directions:
Melt bacon fat or olive oil over medium heat in a large skillet. Add garlic and stir until fragrant, about 1 minute. Add chicken and sprinkle with salt and pepper.
When chicken is nearly cooked through, add mushrooms. Once the mushrooms release their liquid, add green beans and another sprinkle of salt and pepper, and cook for 2-3 more minutes, until most of the liquid has cooked off and green beans are al dente.
*I like garlic. The rest of my family does not. For garlic lovers, use the full 10 cloves (or more!). If you’re not such a fan, use 5.

Do you often find yourself with an overabundance of a certain vegetable from your garden? Try blanching it!
Leave a Reply