Today is Matthew’s 6th birthday. I feel like just yesterday he was shoving chocolate cake into his cute little face in nothing but a diaper. (Actually, take out the diaper part and you’re pretty close to what’s going to be happening later today…)
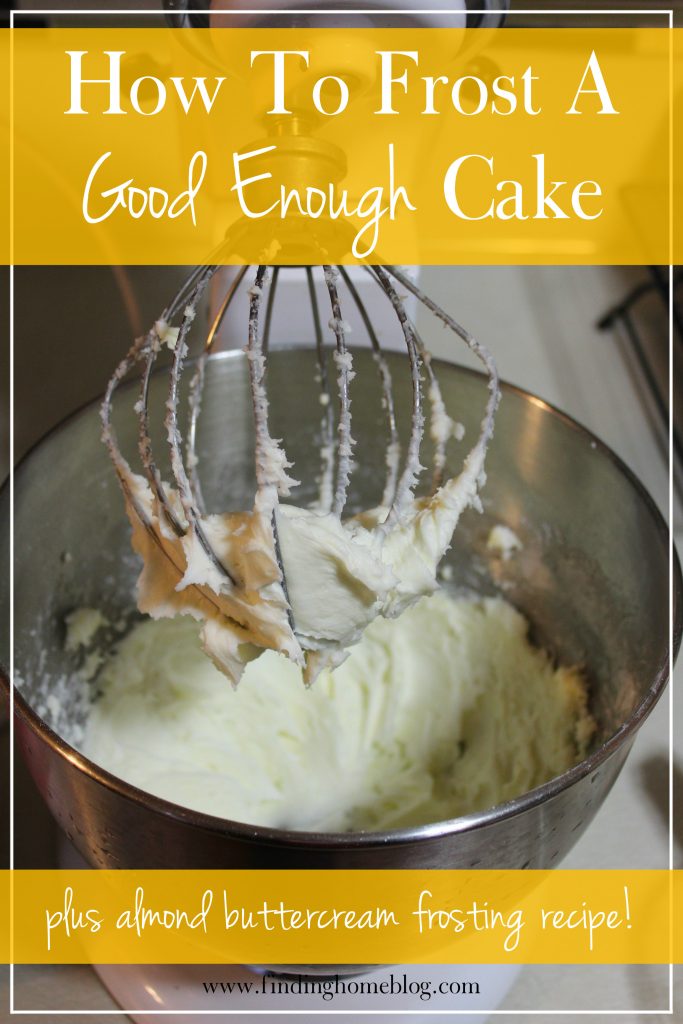
This is where I confess that once upon a time, I wanted to be a cake decorator. I even started a collection of fancy frosting tools and cake pans. And each year for my kids’ birthdays, I let them choose what they want on their cakes.
But then I realized something: I’m not very good at frosting fancy cakes. I don’t have the patience to get the perfect swirls and shapes. I haven’t taken the time to practice, because we don’t need a ton of cake and frosting in our diets, and as with all food I make, I don’t like it to go to waste.
My kids still choose what they want for their cakes, but I usually take shortcuts to get to that plan. Because complicated shapes and colors and all sorts of random bits and pieces? Not happening. One time I tried to make a fire truck cake, and it fell over. Never mind that it turned out pink, not red. The two year old didn’t care, but I was bummed, because I put a ton of time and effort into it.
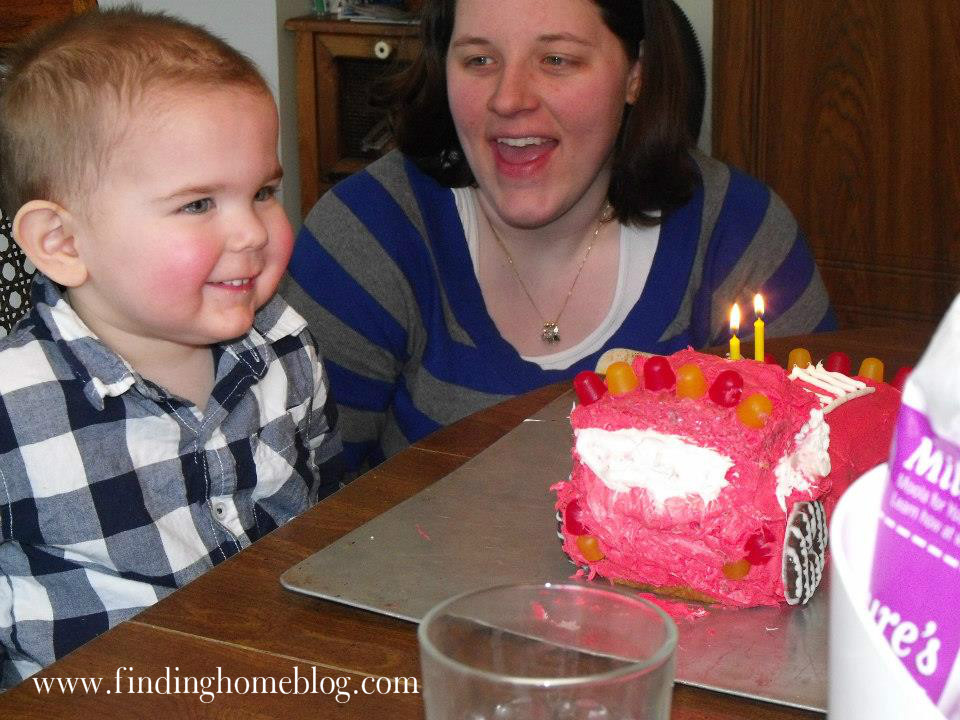
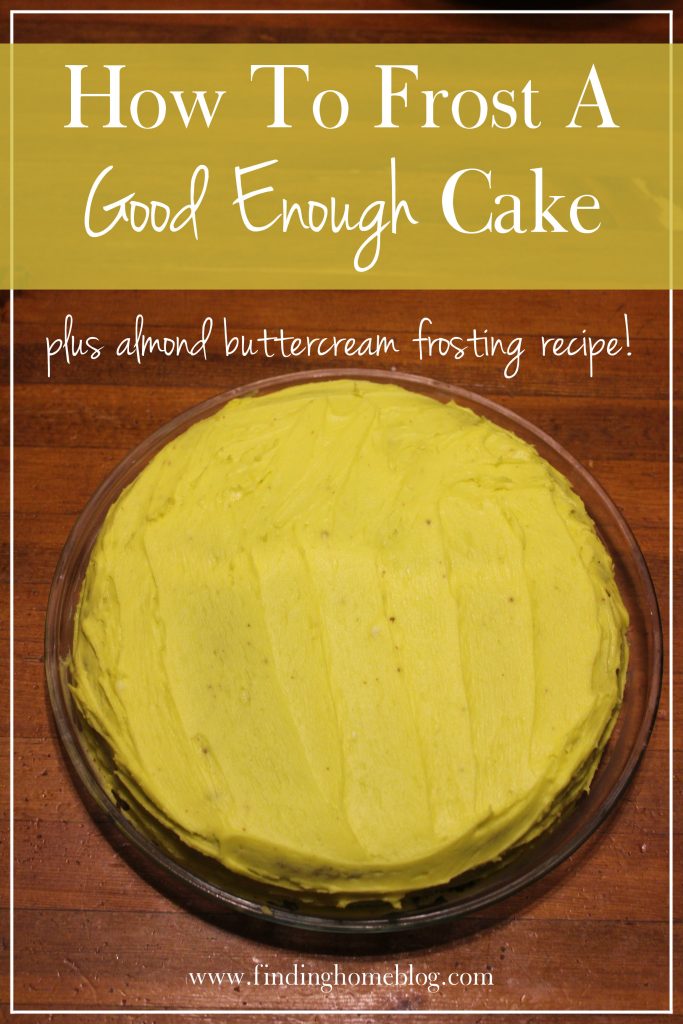
And really, a cake that tastes good, with a frosting that tastes good, is going to be yummy even if it doesn’t look as pretty. My goal now is to take what my kids want and make a good-enough cake.
Here are the basic tips for frosting a good-enough cake:
Let it cool off completely. If you try to frost a warm cake, you’ll end up with a crumbly mess.
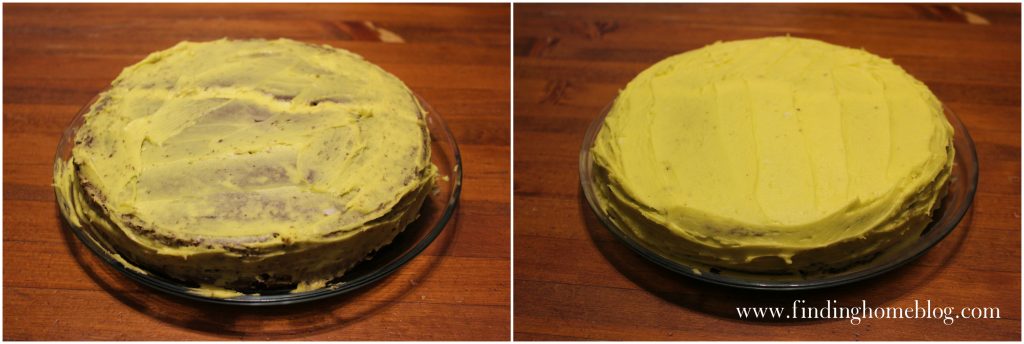
Attempt a crumb coat. That’s a thin layer of frosting to help cement all the crumbs to the cake, which you then cover with another layer of frosting. The good-enough version of this is to use part of your frosting, put the cake in the refrigerator for a little bit, and then do the rest. It helps. You can skip this part if you’re doing a cake that’s staying the pan.
Be okay with using a ton of frosting. If I’m making any sort of shaped cake, or if I use some of the frosting for a crumb coat, I almost always need a second batch of frosting. If I know that from the start, I’m less likely to get frustrated or try to “make it work” when I shouldn’t.
Wipe things off! Whether you’re using a special frosting knife or a spatula, scrape off excess frosting on a separate dish, especially if it gets full of crumbs. When you’re completely finished frosting, wipe off the sides of the platter or dish your cake is on. It will instantly look much neater just from cleaning up the edges.
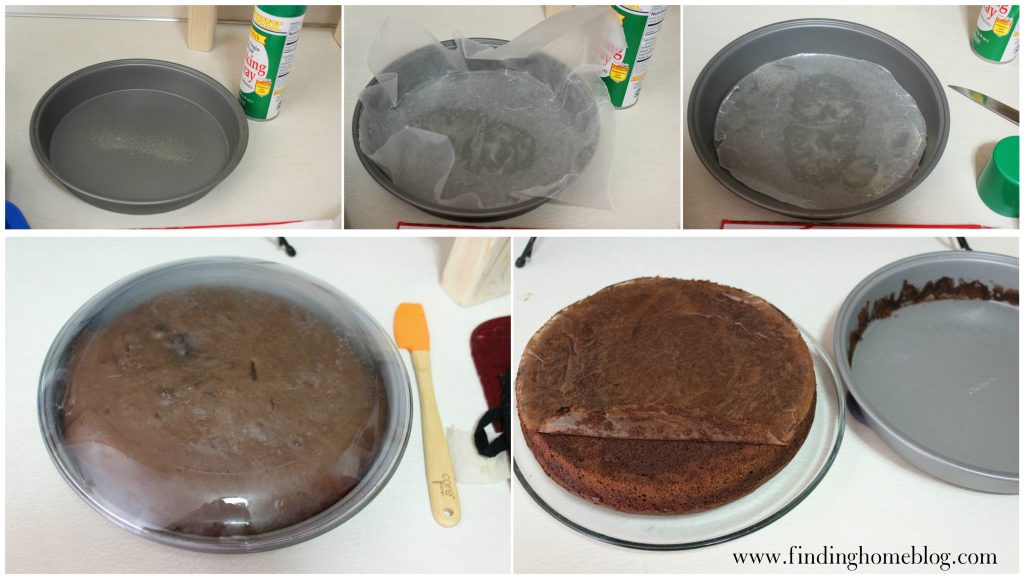
Bonus Tip #1: If you’re making round cakes, use the wax paper trick. Before you pour the cake batter in the pan, spray nonstick spray and then add wax paper. Cut around the edges so that it’s just the circle on the bottom of the pan (the nonstick spray will actually help the wax paper stay in place). After baking, run your spatula around the sides of your cooled cake, top with a plate or platter, and flip over. It should come out cleanly, and you can just peel the wax paper off.
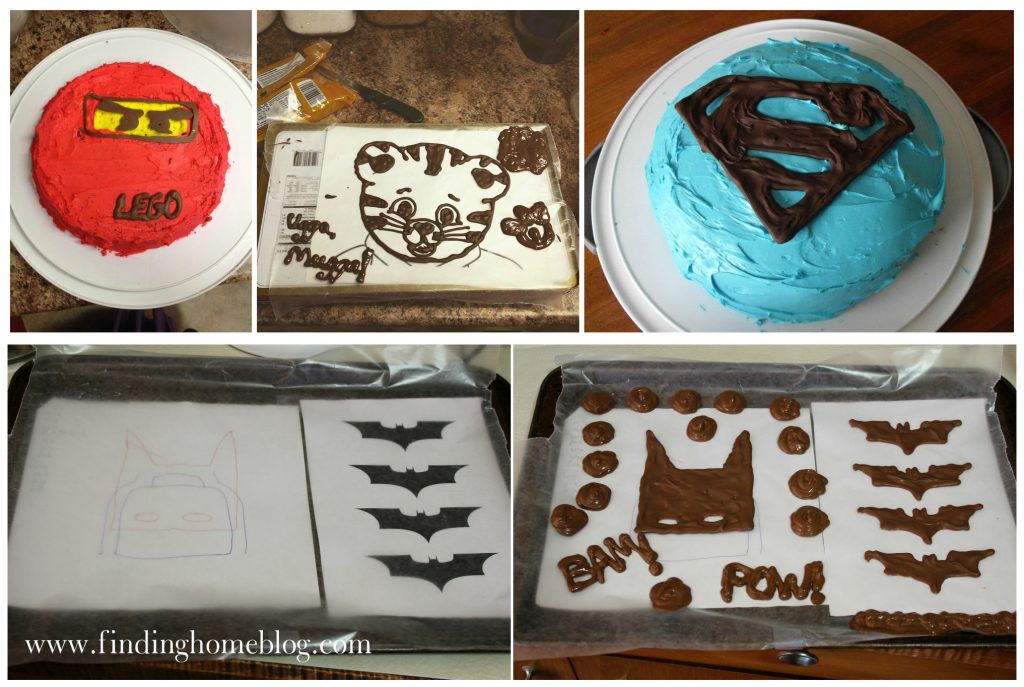
Bonus Tip #2: Melted chocolate chips are your friend. I’ve made decorations for several cakes this way. Print or draw the design you want. Tape it to a cookie sheet and tape a piece of wax paper over the top. Melt chocolate chips and put into a piping bag or a ziploc bag with the corner cut off. Squeeze chocolate over your design. Make little chocolate blobs with the extra, so you can eat them later. Put the chocolate in the freezer for a bit to harden. Carefully transfer to your frosted cake. This looks way fancier than trying to pipe frosting, at least when I do it, and it tastes good too!
So now that you’re ready to frost something, you need a frosting recipe! Here’s my favorite basic recipe for tinting colors (it’s in the red Lego ninja cake and the blue Superman cake above).
Almond Buttercream Frosting
Makes enough to frost a two layer round cake or generously frost a 13×9 cake
(adapted from the Betty Crocker vanilla buttercream recipe)
Ingredients:
- 3 cups powdered sugar
- 1/3 cup butter, softened
- 1/2 tsp. almond extract
- 2-4 Tbsp. millk
- food coloring to tint (optional)
Directions:
Mix powdered sugar, butter, extract, and 2 Tbsp. of milk until combined. Add additional milk 1 Tbsp. at a time to thin if desired. Use this handy little tool to keep from adding too much at once. Add in food coloring if desired.
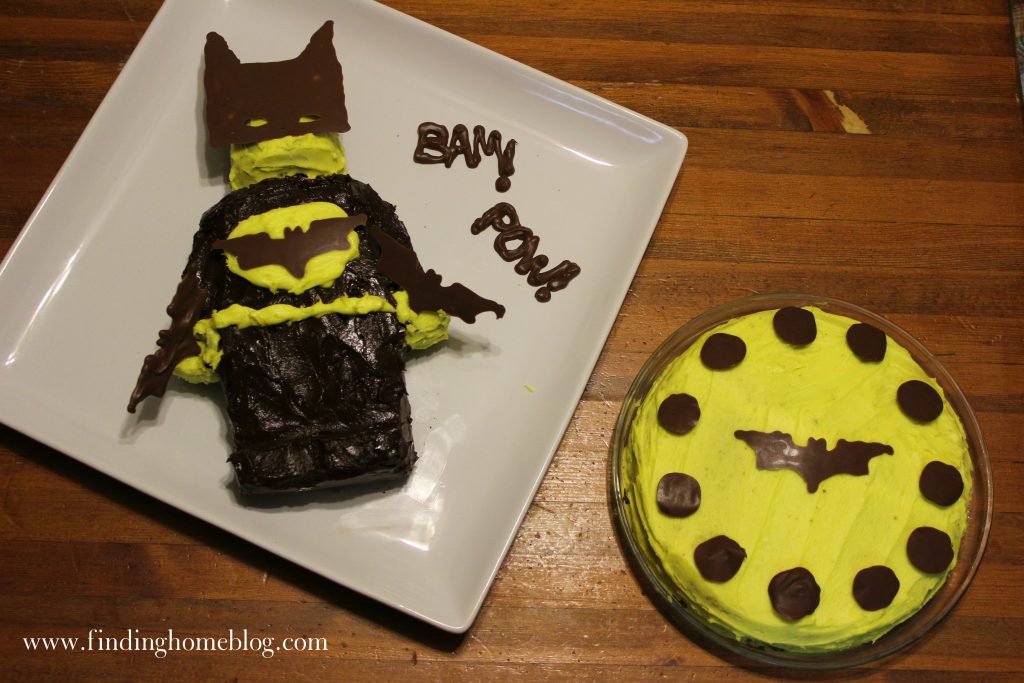
Go forth and frost some cakes! Later today we’ll be digging into this Lego Batman cake, which is only that cool because we have the Lego minifigure cake pan. Otherwise the circle cake would have been it.
Where do you stand on cake decorating? Are you fancy pants or good enough?
Disclosure: Some of the links in this post are affiliate links. If you make a purchase through these links, I receive a bit of a commission at no additional charge to you. Thank you for your support!
Leave a Reply