Every week for awhile now, we have a family pizza night. Usually we also watch a movie together, but at the very least, we have some yummy food and spend some time together. Here’s what pizza night currently looks like at our house.
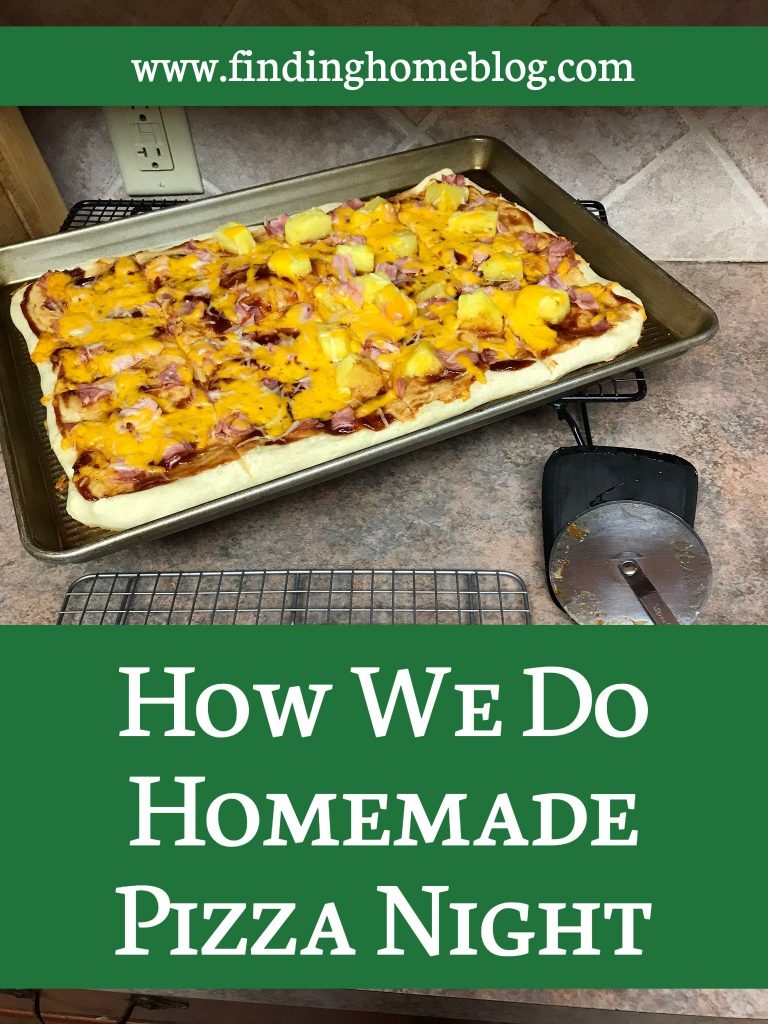
We currently usually make our pizza from scratch, and since we’re still eating mostly gluten free, I make at least one if not both of our pizzas with a gluten free crust. So let’s break down the components.
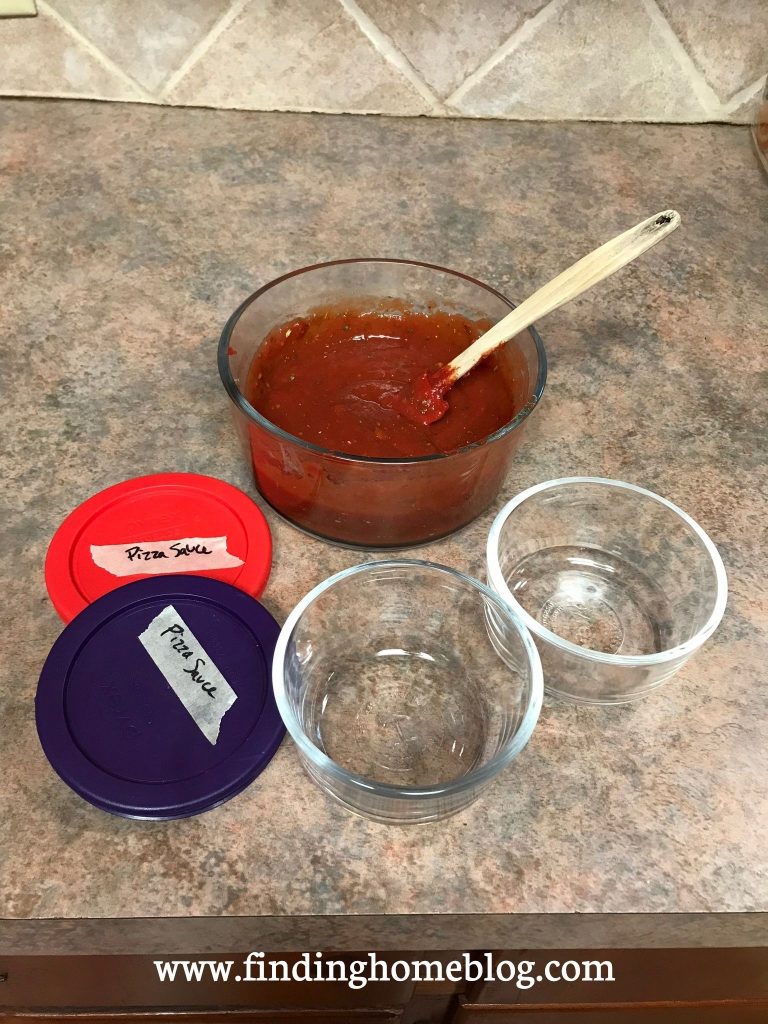
First is the sauce. You can use any pizza sauce, but it’s really easy (and cheap!) to make your own. I use a modified version of a recipe a friend shared with me several years ago.
Since it freezes so well, I only have to make up sauce every couple times we have pizza night.
Next up, we have to choose our toppings. Lately our kids have been on a barbecue chicken kick, so I’ll top their pizza with barbecue sauce, a cup or so of shredded chicken from the freezer, and sometimes chopped tomatoes. We also did a barbecue sauce/chopped ham/pineapple combination that they really liked!
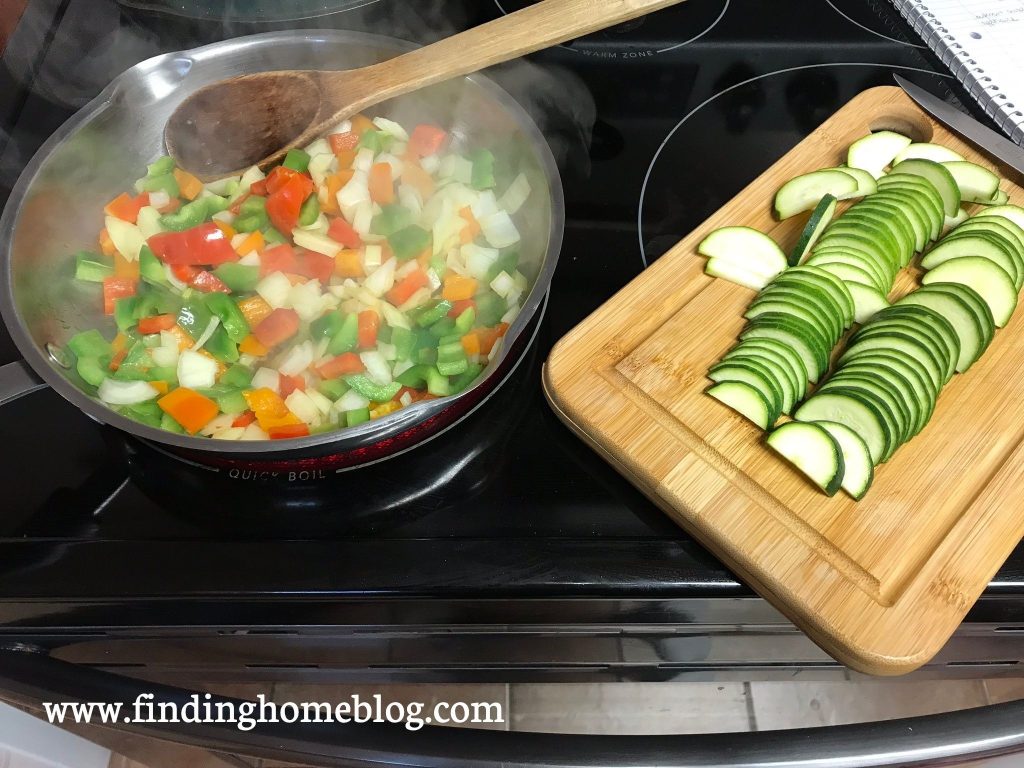
For the adult pizza, we usually load up on the veggies. Onions, peppers, mushrooms, zucchini, spinach, tomatoes…whatever we have on hand is fair game. I saute most of them beforehand, because my husband prefers them this way, and because some veggies release juices when they cook, which can make for a soggy pizza if you don’t do that ahead of time. That’s totally a personal preference though.
Whatever you’re topping your pizza with, you can wash, chop, and saute, ahead of time. (If you sense a theme here, it’s because I like to do a lot of this prep work earlier in the day so pizza night comes together quickly.)
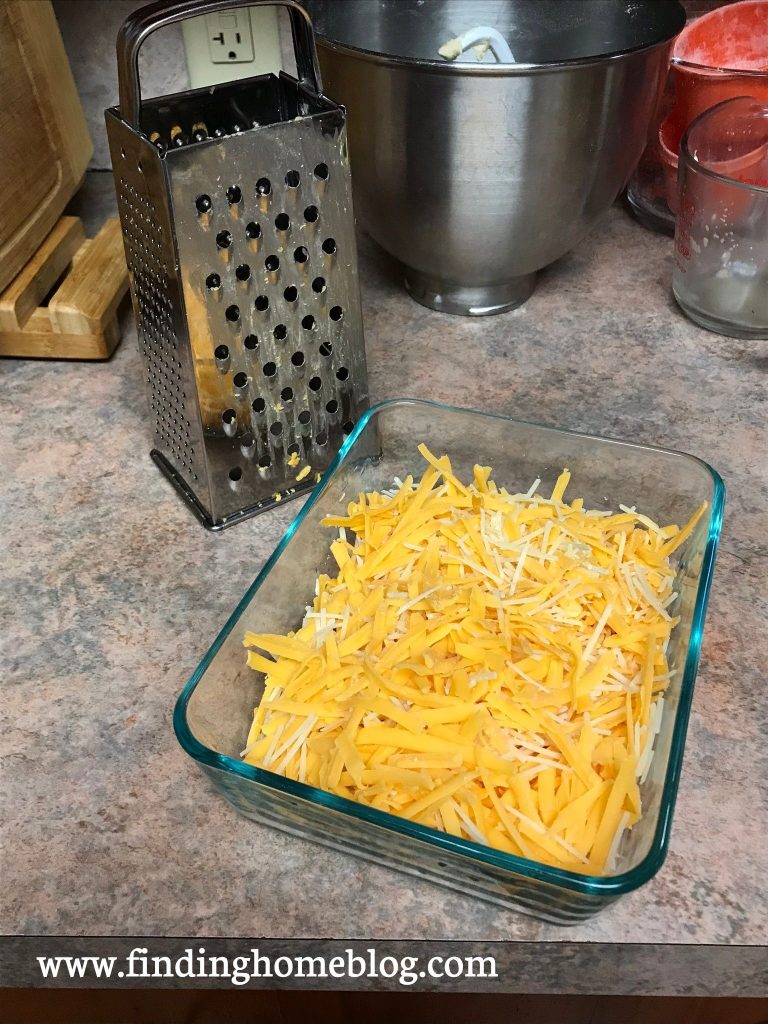
And don’t forget the cheese! I usually split one 8 oz. block of sharp cheddar between the two pizzas that we make. And if I have some extra Parmesan or mozzarella left over from another recipe, I’ll add that as well. But if it’s just cheddar, it’s still delicious!
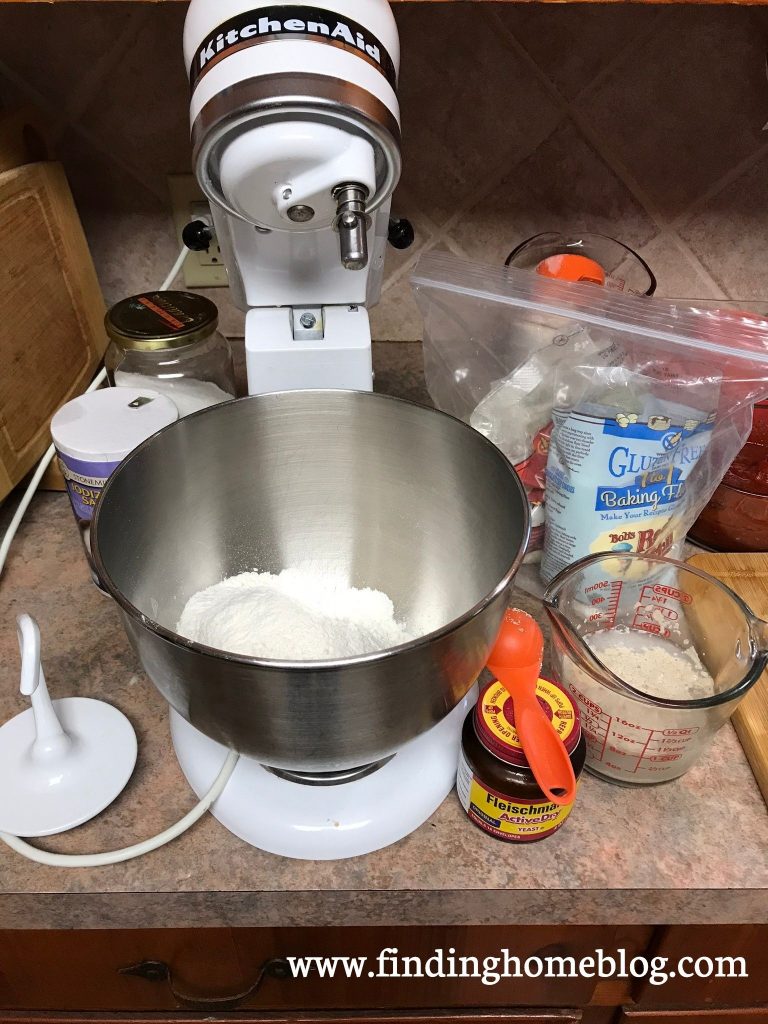
I can get all of the stuff that goes on the pizzas ready ahead of time, so that it’s waiting in the refrigerator for me at pizza time. But I like to make the crust right when I need it. In the past we have done flour crusts ahead of time, but I feel like they puff up a bit more if we just make them at baking time.
I still use Money Saving Mom’s pizza crust recipe for our pizza nights most of the time. This Bob’s Red Mill gluten free pizza crust mix is actually my favorite, and when I can find it locally, we use that (it makes 2 pizzas). But I’ve only found it consistently at one store, and I don’t always make it there since it’s not one of my usual shopping places.
When I’m using the Money Saving Mom recipe, I usually do a half batch with Bob’s Red Mill 1-to-1 Gluten Free Flour in my mixer first, and then a half batch with unbleached all-purpose flour second. That way I can use less dishes, and still have both the crusts we need. And since it’s such a simple recipe, it doesn’t take long at all to mix up 2 different kinds.
While I’m mixing the two crusts up, I also have the oven preheating to 425ºF, because that takes a little bit, and you want your pizza to go into a hot oven for a crispier bottom crust.
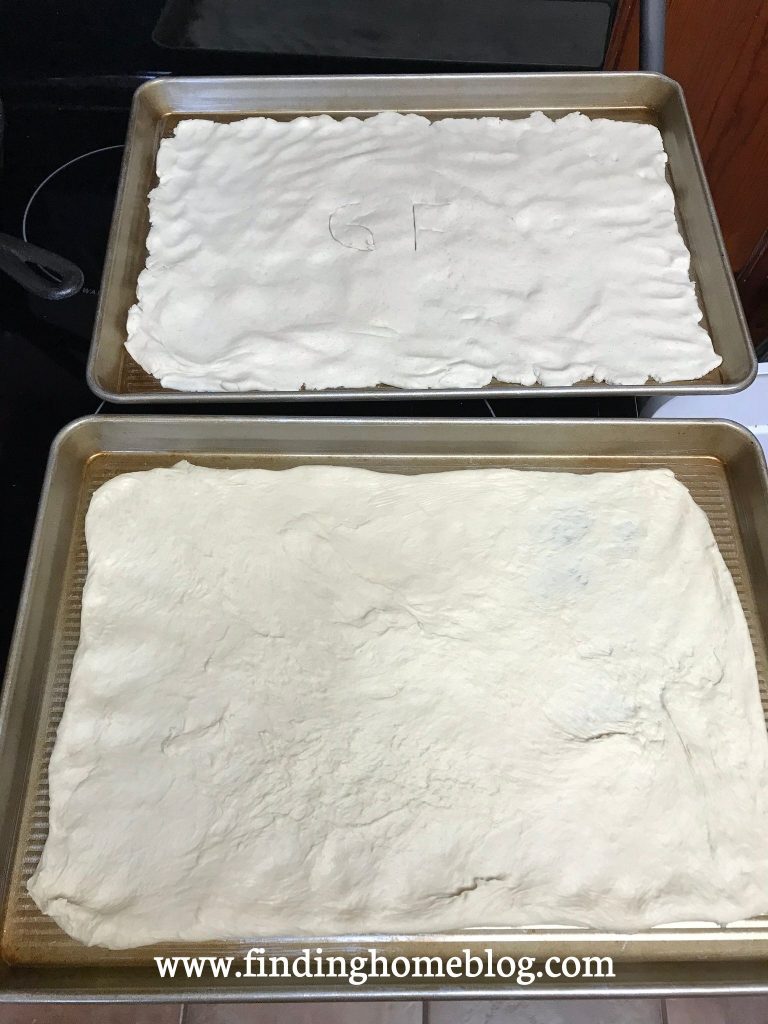
I use a piece of plastic wrap to help me spread the dough out on my pans. The gluten free dough especially tends to be a bit sticky, so this keeps me from getting it all over my hands (and all over the kitchen and all the things I inevitably touch). And I make sure to use a fork to prick a “GF” onto the gluten free crust, even though I can generally tell the difference by looking at them.
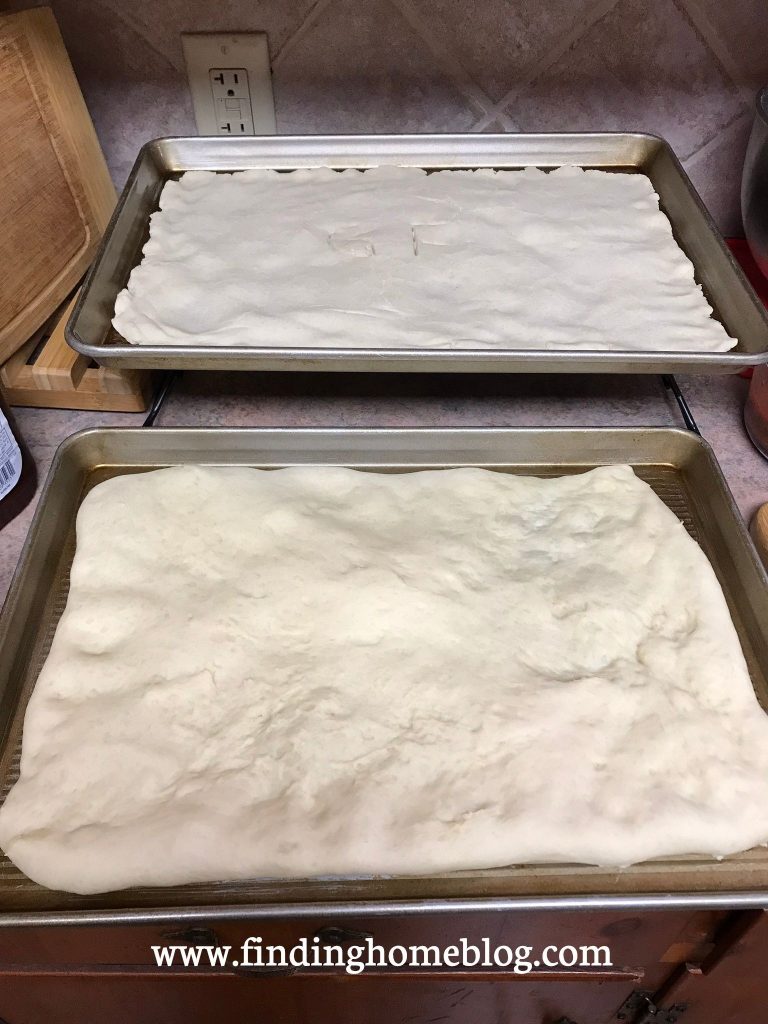
Another thing that helps the pizza turn out delicious is to pre-bake it for about 5 minutes before adding the sauce and toppings. This helps the crust get a little “done” on top so that the sauce doesn’t absorb and make it mushy.
If you’re wondering why I use sheet pans instead of round pans or pizza stones, know that I used to have both of those a few houses ago. And then we moved into a place with a small oven, and the first time I went to put my big round pizza pan in the oven, the door wouldn’t close and I had to transfer it to a smaller pan. It did not go well.
Rectangular pans fit in any size oven.
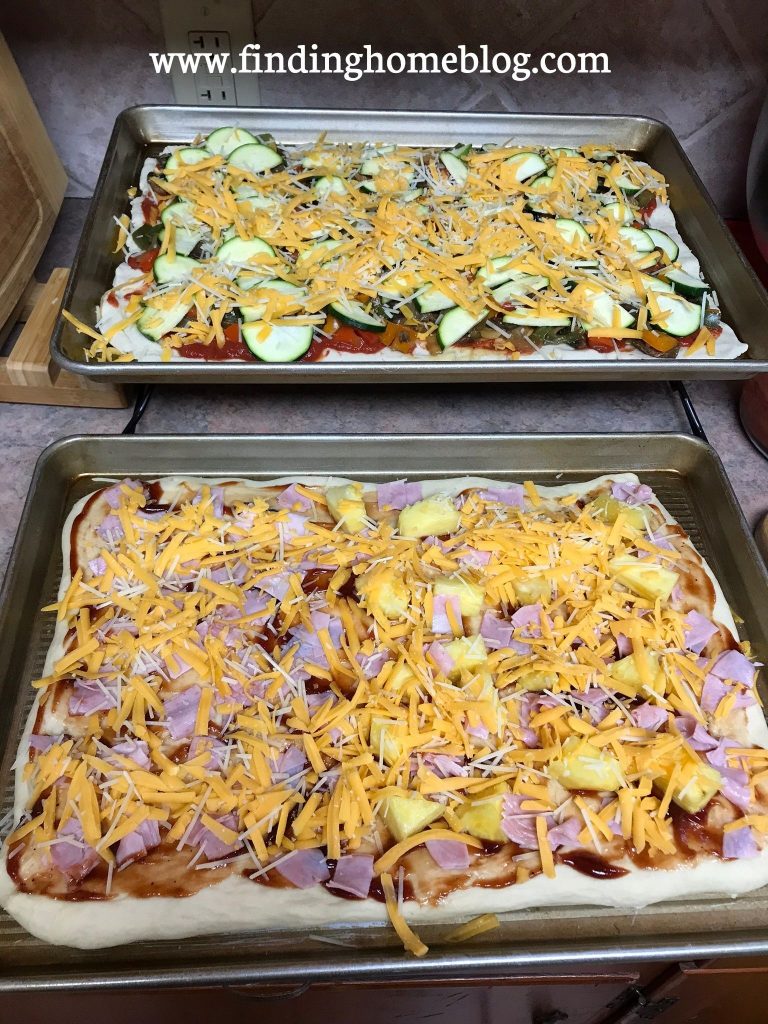
I use my cooling racks and quickly top the pizzas with the sauces and toppings we want, and all the yummy cheese. Then back in the oven they go!
The all-purpose flour pizza cooks for another 13 minutes or so, and it’s done. You can tell by the golden brown on the bottom of the crust if you lift up a corner.
The gluten free pizza usually takes about 5-8 minutes beyond that, depending on how topping-heavy it is. More toppings = more time in the oven. Again, you can check for done-ness by lifting a corner with a spatula to see if it’s golden brown.
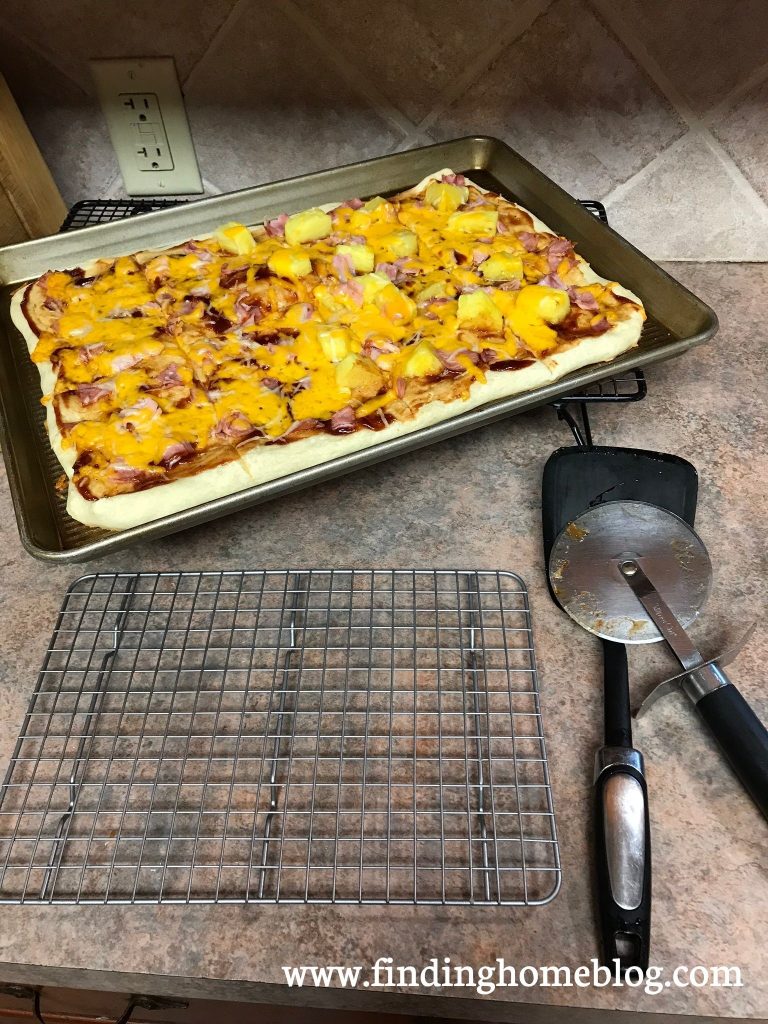
While our pizza is finishing in the oven, I slice the kids’ pizza and get that plated. We use paper plates for pizza night. Part of it is so that we can enjoy the movie together and not worry about clean up. And part of it is because this is basically my only counter so I need it clear of dirty dishes for making the pizzas! So I do the dishes beforehand, and I don’t want to end the night with a bunch of dinner plates on the counter.
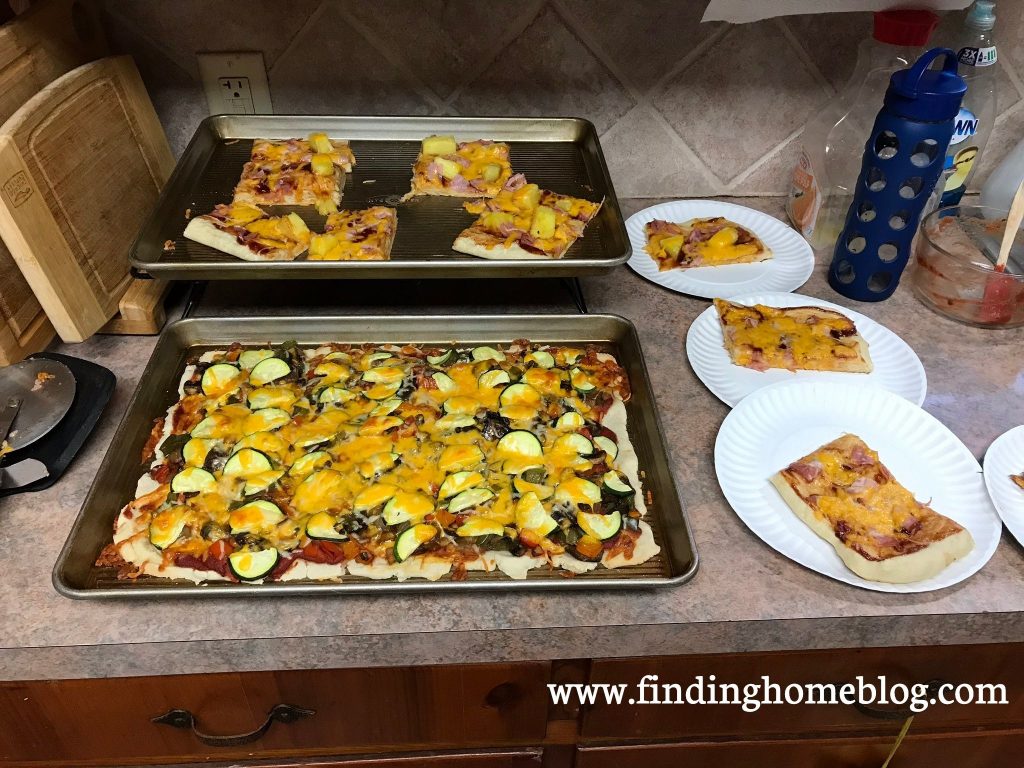
Once our pizza is done, we slice that up too, and we’re ready to enjoy it. By then my husband has a movie queued up, and we’re ready to go!
Helpful Tools for Pizza Night
- USA Pans Half Sheet Pans – these are my favorite pans for pretty much anything that goes in the oven, but I love them for pizza night because the pizzas just slide right off, and if any sauce or cheese got on the side, it’s still super easy to wipe it off.
- Pampered Chef Stacking Cooling Rack (the black one in the pictures above) and USA Pans Cooling Rack (the silver rack in the pictures above) – These are really convenient to set the hot pans on so that I can put all the toppings on them, and for serving the pizzas at the counter. We could just use potholders, but I like that these are two different levels so it’s easier to reach what I want.
- Norpro Cheese Grater – I bought this one off of Amazon when I couldn’t find a standing up one at any stores, and it’s definitely got the sturdiness factor I was looking for, plus a few different sizes for grating. It is pretty sharp though, so be careful of your fingers!
- Kitchen Aid Mixer with Dough Hook – This is totally not necessary either, but it makes mixing up the dough so much faster and less messy than doing it by hand. And since I use my mixer all the time in addition to weekly pizza nights, it’s a winner for me.
- Pizza cutter for slicing – ours is a Pampered Chef one that I’ve had since my bridal shower. I like that it has a cover so that the sharp edges aren’t out in the drawer. I don’t know if they even make this one any more. But obviously you are smart enough to find something to cut your pizza…
- Rubber spatula for serving – pretty sure this is just a generic spatula from Walmart. It’s a nice big one though, so it works for whatever size slices you’re cutting.
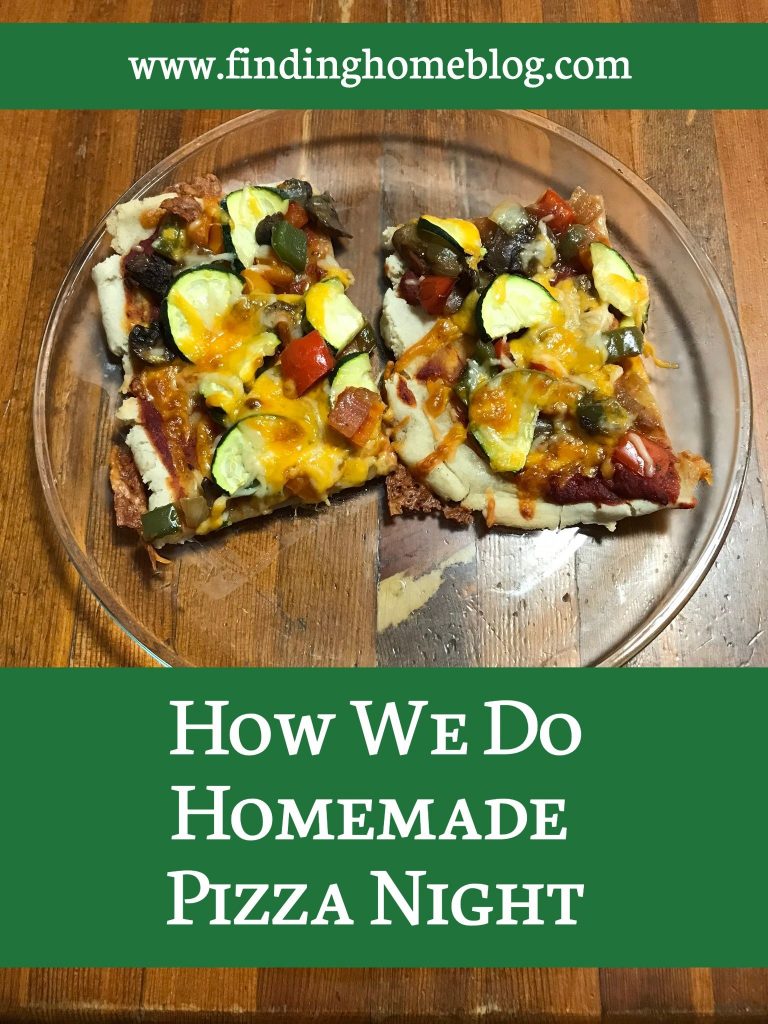
Our pizza night has evolved since we first started, but one thing stays the same: we get to have yummy food and family time together.
Do you do pizza or movie night at your house?
Disclosure: Some of the links in this post are affiliate links. If you make a purchase through these links, I receive a bit of a commission at no additional charge to you.
Great ideas! In the fall we have pizza while we watch football. I’ve been wanting to make my own more often. You definitely showed how easy it can be! Thanks!
Yay! Glad it could inspire you. There are so many parts you can do ahead of time that it’s really not that difficult, and so yummy.